While many experienced drone pilots and photographers probably know the answer to this question, many new pilots might not. So what is the difference between optical and digital zoom? When should you use either?
Depending on the drone you purchased, you might have one or more cameras. More likely than not, you purchased a DJI drone, so we’ll be using that as the example, but know that this should be useful if you have an Autel drone, Potensic drone, or something from a different brand.
What is compression and how does it change a photo?
Before we talk about the difference between the two, I first have to explain this basic photography concept. Whether you’re using your smartphone’s camera, a DSLR/mirrorless camera, or a drone, it’s all the same.
Compression in photography is an optical trick that makes the background of a photo look larger and closer to the subject than it actually is.
The rule basically is the longer the focal length, the grander the effect. However, this requires you to move further back from the subject so it remains the same size in the frame. (This is a key point to remember for later.)
Compression is most often used in portrait or landscape photography. If you are looking to isolate a subject against a busy background, increasing your focal length will help in enlarging the objects in the background, hopefully creating fewer of them. However, if you want to show the vast scale of something in the background, get close to the subject with a wide angle.
What is a digital crop?
Digitally cropping a photo is like pinching and zooming on a photo on your phone. You enlarge the image to fill more of the screen; however, the focal length of your camera remains the same.
The most common use case for this in traditional photography is framing a photo to be more artistically pleasing. Maybe you want to remove the person at the edge of the screen or move the subject more to the left or right of the frame. Cropping gives you the ability to frame the subject more freely after the photo has been taken.
The downside is you will lose quality. Since the photo is already taken, the resolution and number of pixels are already set, and you cannot make more. Zooming in too far will make the image more grainy as you’ll start to see the individual pixels more. This is why getting it right at the point of the photo is always important, as you don’t want to sacrifice photo quality for better framing or sacrifice better framing for better quality.
The amount you can punch in will be based on the resolution of the camera you are shooting with. Most drones in 2025 have been upgraded to shoot at least 2.7k (2716 x 1524 pixels) but likely 4k (3840 x 2160 pixels).
A rule of thumb is the higher the quality, the more you can punch in; however, you still need to be careful as other aspects can reduce your quality as you continue to crop, like high ISO levels and missed focus.
What is optical zoom?
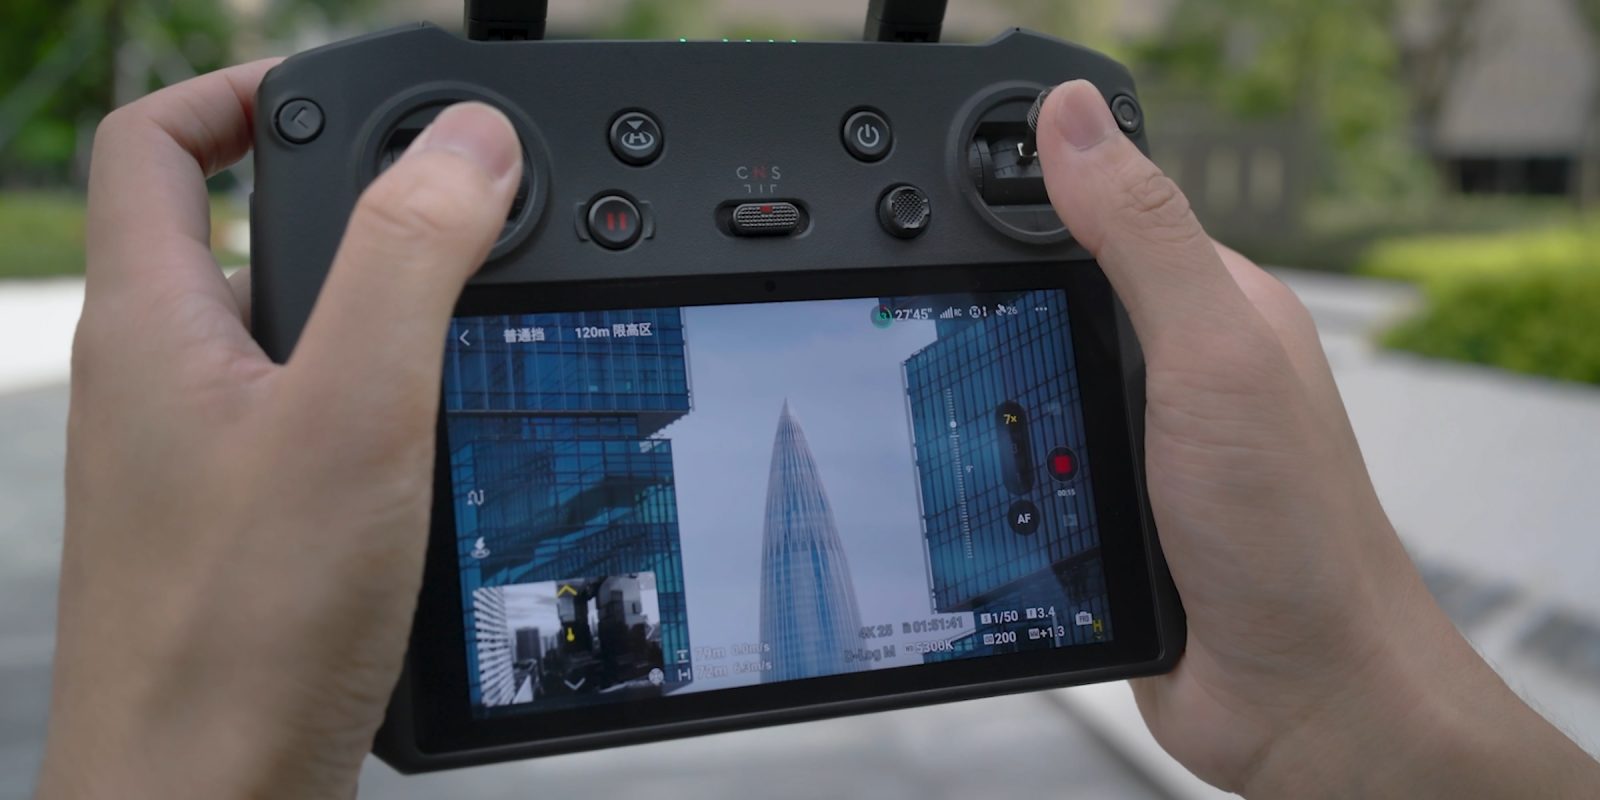
If you are flying a drone like the DJI Air 3S or Mavic 3 Pro, you may have noticed multiple cameras on the payload. (Surely, I hope you noticed before shelling out thousands of dollars for one of these.)
Each camera is at a different focal length. For example, the Air 3S has a 24mm lens and a 70mm lens. The Mavic 3 Pro has the same two focal lengths but adds a 166mm lens.
Important clarification here: these are “equivalent” focal lengths. Smaller sensors have a larger multiplier for a lens compared to full-frame cameras like you see from Canon or Nikon. If you’re looking for something full-frame, you’ll need something larger, like the Inspire 3.
Zooming in using a multi-camera drone will change between the three cameras. In DJI’s and most drone software, using the standard zoom dial will first do a digital crop. Once you reach a similar crop that the next focal length gives you, it will switch to that camera.
Beware, drones like the Mavic 3 Pro; each camera has a different sensor size, meaning your main Micro 4/3 camera that can shoot 5.1k footage will move to a 1/2″ camera that peaks at 4k footage if switching to the 166mm lens.
Back to compression, as this is where that comes into play. When you switch to a longer focal length, that compression will start to take shape. You will see this if your subject is in front of the drone with some sort of backdrop behind them.
However, you will not see this if the subject is beneath you and is just on the ground. What you will see is that the subject is closer to you, as you are using a longer focal length with more zoom. But since the ground is only a few feet behind the subject, you won’t get that compression feel.
Remember the rule about compression: to fill the backdrop, you must also make sure the subject is the same size in the frame as it was with a shorter focal length. The background also needs to have some distance behind the subject for this to work.
When to use either?
If you’re not flying a drone with multiple cameras, maybe a DJI Mini 4 Pro, for instance, or an Atom SE for you Potensic flyers out there, you will likely be stuck with a single wide-angle camera. For you, you’ll be limited to only one option for zooming in: digital crop.
Just remember that digital cropping does not equal compression. As the backdrop will look exactly the same as the uncropped version.
If you have a little bit of a fancier drone, then it’s a bit complicated as you have options. It’s common practice to only digitally crop video or photos in post-production and never in the field. This is because you always want the highest resolution footage possible to edit. If you need the subject to be larger in the frame, you have two options out in the field:
First, use your rotors. This is the drone version of the photography phrase “use your feet.” Move the drone closer to the subject so it fills the frame more.
Second is similar to the first one; increase your focal length and then… use your rotors. Punch in to the 70mm telephoto camera and move the drone away from the subject until it fills the frame the way you want.
Now this brings me back to the point of compression; if you require the backdrop to be “compressed” with the objects appearing larger and closer than they really are, then you will need to use the longer focal length. This may require more planning of the drone’s flight path, as you will have to fly further away, as long as you’re using the same lens throughout the shot.
Enterprise use cases
Now I have to bring up the use cases for the few enterprise pilots out there or the consumer pilots that might take an inspection job from time to time.
In those cases, good photography doesn’t matter, and zoom is the name of the game. Say you’re inspecting bolts on a bridge; you’re not worried about compression as much as you just need to see the bolt at the best quality possible.
For that, you’ll almost always use the longest focal length possible and then add a reasonable digital crop on top of that.
The closer you can fly to the subject, the better, as long as you aren’t too close and fly within the camera’s minimum focal range; although for these cameras, that has to be very close.
In conclusion
I really hope this was a helpful explanation of the concept of compression and the differences between digital crop and optical zoom.
The important story is to take photos you’re proud of. Don’t feel bad if you end up using digital cropping to take photos you enjoy. Because at the end of the day, you’re in charge, and no one can tell you how art is supposed to look.
FTC: We use income earning auto affiliate links. More.
Comments